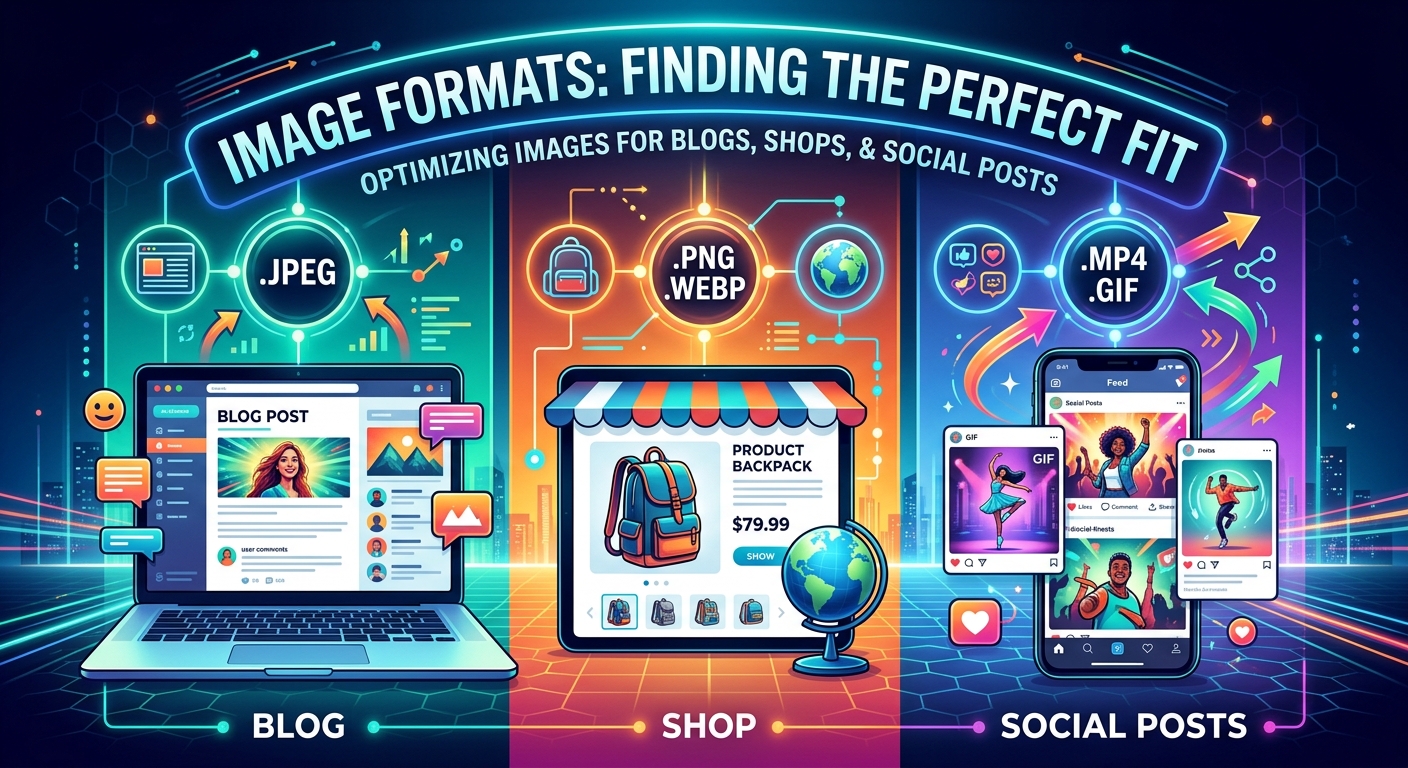
The wrong image format can quietly undermine months of careful work. A product photo saved as PNG might weigh ten times more than it needs to. A logo exported as JPG can look fuzzy around the edges. An uncompressed file can push your page load time past the point where visitors give up and leave. Picking the right format is one of those small decisions that pays off every single day. This article walks through three real scenarios, explains the logic behind each choice, and gives you a format reference to bookmark for later.
Format at a Glance
JPG handles photographs well and keeps file sizes small, making it the go-to for product photos and blog images. PNG preserves crisp edges and supports transparency, so it works best for logos and graphics. WebP does both jobs in a smaller package and is the smartest choice for any image that lives on the web. Knowing which of these three fits your situation takes the guesswork out of every upload.
What JPG, PNG, and WebP Actually Do
JPG uses lossy compression. That means it throws away some image data to shrink the file. For a photograph packed with thousands of subtle color shifts, that loss is nearly invisible. For a graphic with hard lines and solid colors, those losses show up as blurry edges and color smearing around text. JPG is not the wrong format. It is just the wrong format for the wrong subject.
PNG keeps every pixel intact. It uses lossless compression, which means the file gets smaller but nothing is discarded. That makes PNG files larger than JPGs, but the quality stays perfect. PNG also supports transparency, which JPG does not. That is why designers save logos and icons as PNG files. The transparent background lets them drop the image onto any surface without a white box appearing around it.
WebP is a newer format developed by Google. Switching to WebP can shrink file sizes by 25 to 34 percent compared to JPG, according to detailed WebP format documentation from Google, while maintaining the same visual quality. WebP also supports transparency like PNG. Nearly all modern browsers handle it without issues. The main reason to avoid WebP is when you need to share a file with someone who will open it in older software or a desktop application that has not updated its format support.
Uploading Product Photos to Your Online Shop
Product photography almost always calls for JPG. A product photo is a continuous-tone image packed with gradients, shadows, and subtle variations in color. JPG compression handles that kind of information gracefully. You get a clean-looking image at a fraction of the PNG file size.
File size matters more than most shop owners realize. A page that takes four seconds to load loses a significant portion of its visitors before they ever see the product. Shopify, WooCommerce, and most other platforms will accept large files, but they do not always optimize them for you. Uploading a 6 MB PNG of a sneaker when a 350 KB JPG looks identical to the human eye is a real problem for your store's performance.
The one exception is product images with transparent backgrounds. If your photos are retouched and placed on a white canvas, JPG is fine. If the background has been removed entirely so the product floats on whatever color your shop uses, you need PNG or WebP to preserve that transparency. A JPG will fill the transparent area with white, and your carefully edited product shot will look wrong against any background that is not white.
WebP is an excellent option for shop owners who want the best of both worlds: smaller files and optional transparency. Many modern e-commerce platforms now accept WebP natively. If yours does not, a simple conversion step at upload time solves the problem in seconds.
Preparing Graphics for Instagram and Other Social Platforms
Instagram, Facebook, and Pinterest all accept JPG and PNG. They do their own compression on the backend, and that process can be aggressive. Instagram re-encodes images when it detects a file that is already compressed at a low quality setting. The result is compression stacked on top of compression, which can make your image look soft and splotchy.
The better strategy for social photography is to upload a high-quality JPG at around 80 to 90 percent quality, not a heavily compressed one. Give the platform something to work with. If you hand it a file that has already been compressed hard, its second round of compression just makes things worse.
For graphics with text, logos, or flat color elements, PNG is the better starting point because it preserves sharp edges. When the platform re-encodes a PNG to JPG internally, some softness is introduced, but you are starting from a cleaner baseline than if you had uploaded a compressed JPG in the first place.
Instagram recommends a resolution of 1080 pixels wide for standard posts and 1080 by 1920 pixels for Stories. Getting the dimensions right matters as much as the format. An oversized image forces extra compression. An undersized image gets stretched and looks pixelated. Both are avoidable with a quick resize before upload.
Adding Images to a Blog Post
Blog images need to load fast without looking bad. That is a balance, and WebP is the format that strikes it most consistently. A WebP version of a blog header image is often half the size of the same image saved as JPG, with no visible quality difference to a reader scrolling through on a phone.
Most content management systems, including WordPress with recent versions, support WebP uploads. The format is now widely supported across Chrome, Firefox, Safari, and Edge. If your blog platform converts images automatically, you may already be serving WebP without realizing it.
For screenshots and diagrams inside a blog post, PNG is the right call. A screenshot of a software interface has sharp lines and text that JPG compression would smear. A PNG screenshot stays pixel-perfect and looks professional. The file size is larger, but a blog page can carry one or two PNG screenshots without any meaningful performance cost.
Photographs embedded in a blog post, like a header image or a featured image, are a natural fit for JPG or WebP. These images are large and full of continuous-tone color. JPG at 80 percent quality hits the sweet spot between file size and visual quality for most photography. If your platform supports WebP, use that instead and get the file size down even further.
How to Switch Between Formats Without Installing Anything
Most people do not have Photoshop or another professional image editor on their computer. That used to mean getting stuck with whatever format a file was already saved in. That is no longer the case.
An image converter that runs entirely in the browser handles this job in seconds. You drop your file in, choose the output format, and download the result. No account required, no software to install, and nothing saved to a server. It works from any device, including a phone or a shared office computer.
This is useful in more situations than you might expect. You download a product photo from your supplier and it arrives as a PNG but you need a JPG for your shop. You receive a WebP file from a designer but your blog platform does not accept it yet. You want to convert an old JPG logo to PNG so you can remove its white background. All of these take under a minute with a browser-based tool, and none of them require you to sign up for anything or pay for software.
The key is not to over-compress during conversion. When converting to JPG, aim for a quality setting between 75 and 90. Going lower than that introduces visible artifacts, especially around areas of high contrast. Going higher adds file size without returning visible quality improvements.
Your Format Decision, Made Simple
JPG, PNG, and WebP: Format Comparison for Common Uses
| Format | Transparency | Compression | Best Use | Typical File Size |
|---|---|---|---|---|
| JPG | No | Lossy | Product photos, blog images, social uploads | Small |
| PNG | Yes | Lossless | Logos, screenshots, graphics with text | Medium to large |
| WebP | Yes | Lossy and lossless | Web images, blog headers, modern shop listings | Very small |
Here is the logic that covers most situations. If you are working with a photograph and transparency is not needed, JPG is your answer. If you need a sharp logo, icon, or screenshot with crisp edges, use PNG. If you are building for the web and your platform accepts it, WebP gives you the smallest file with the highest visual fidelity.
The scenario that trips people up most often is the product image with a removed background. That one always needs PNG or WebP, never JPG. Transparency does not survive a JPG export. A white rectangle will appear where the background was, and your product shot will look wrong against any background color other than white.
Social media graphics with text fall into the PNG camp before upload. Start with PNG to give the platform the cleanest possible source file. Photography for social posts can go as JPG at high quality. Blog photography is a natural fit for WebP if your platform supports it, and JPG at 80 percent quality if it does not.
These rules are not complicated once you have made the decision a few times. After a week of thinking about it intentionally, it becomes automatic. You look at what you are uploading, ask whether transparency is needed, and consider whether the image is a photograph or a graphic. The right format follows from those two questions every time.
Getting this right is not about chasing perfection. It is about giving your images the best chance of looking sharp, loading fast, and working across every device and platform your audience uses. That goal is worth keeping in mind every single time you hit upload.